- Resource Information
Abstract
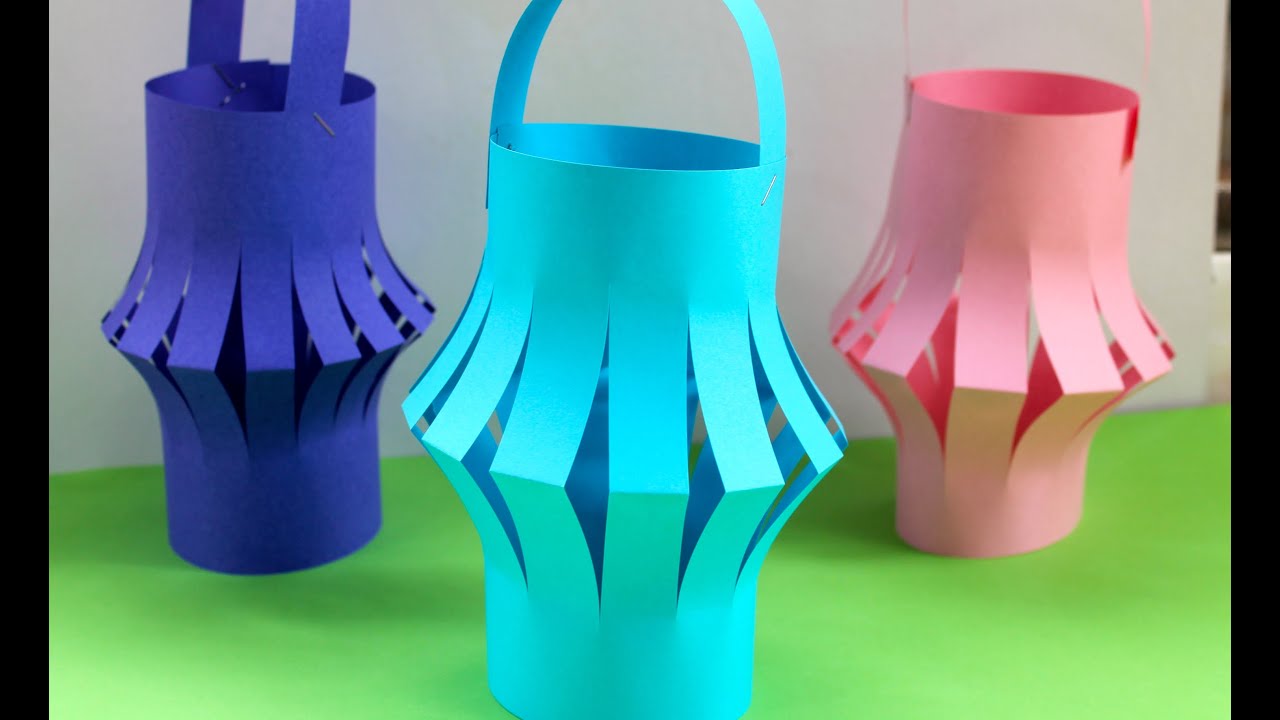
During dark evening it will be nice to make a simple paper LED lantern that gives you warmness and cosiness. You can use these lanterns during Halloween or Christmas.
This activity can be developed individually by learners or as a pair activity (2 learners) that shall be focused on the positive use of paper, clue, LED, battery and a bit of handcraft.
A simple homemade paper LED lantern.
(Source: https://i.ytimg.com/vi/CeZKYGmuZn0/maxresdefault.jpg)

Learning Outcomes
The learners will learn how to use daily materials to make a paper LED lantern.
Skills and competences
The learners can develop following skills and competences:
- Handicraft
- Problem solving
- Teamwork
- Motivation
- Do-it-yourself (DIY)
- Process management
- Analysation
- Creativity
- Initiative
- Planning and organising
Knowledge
The following knowledge can be gathered by the learners:
- How to be creative
- How to work with hands
- How to understand simple electronics
Other Instructions
- Cut approx. 2 cm wide strap from the long edge of the paper.
- Fold the rest of the paper in half
- Cut 1.5 – 2 cm wide cuts from the fold side as seen in picture 2. Stop the cut approx. 2 – 3 cm from the edge.
- Open the paper again, it should look like picture 3.
- Clue the paper in short edges. This should look like picture 4.
- Use the strap from step 1 and clue it to the rest of the lantern for the handle like picture 5.
- Use different decorating materials, decoration tape or pencils to decorate the lantern.
- Take the LED and battery and connect the battery between the “legs” of the LED. Use the right polarity!
- NOTE: Long “leg” is the anode (+).
- Now use the tape to fix the LED and battery, this helps to prevent the battery not to get loose between the LED “legs”.
- Last step is to fix the lighted LED-battery combo inside the lantern. You can use tape for that.
URL
RESOURCES
Author
Martin Maidla
Language
English
Main Topics
Arts
Keywords
battery diy led paper craft